Steps to Getting Your Property Ready to Sell
You’ve decided to sell your property in Singapore. But how do you kick off the home sale process? Here are the steps to getting your property ready to sell. Selling a property without proper planning and preparation can lead to major delays, an unsatisfactory sale price, and many other headaches.
For a successful sale, it’s best to take care of some critical tasks before putting it on the market. With help from our property agent, we’ll walk you through this pre-listing preparation schedule.
Step 1: Conduct preliminary market research
Get to know your local property market. By familiarizing yourself with competing properties and current listing prices, you’ll have more realistic expectations of what you can sell your property for.
Browse Singapore property listings online and note how your property compares to others. What condition are these properties in? Are these properties staged? What are the listing prices for properties that are similar in size and design?
Next, you’ll need to work with a local real estate agent who can conduct a market analysis to determine your property value. For this, you may speak to our property agent. Give us a call.
Step 2: Hire a property agent
While you take care of your end of the sale process, your agent will handle crucial tasks that require professional expertise. Some of these include:
- Marketing
- Pricing
- Staging
- Sourcing professionals like contractors and photographers
- Fielding offers
- Negotiating with buyers
Don’t just hire any agent. Ping Property agents are trusted, reliable and friendly. Many of our clients are happy as their property was sold quickly with minimal hassle. We are known to be the agency with zero commission and fixed fee. A bonus for you.
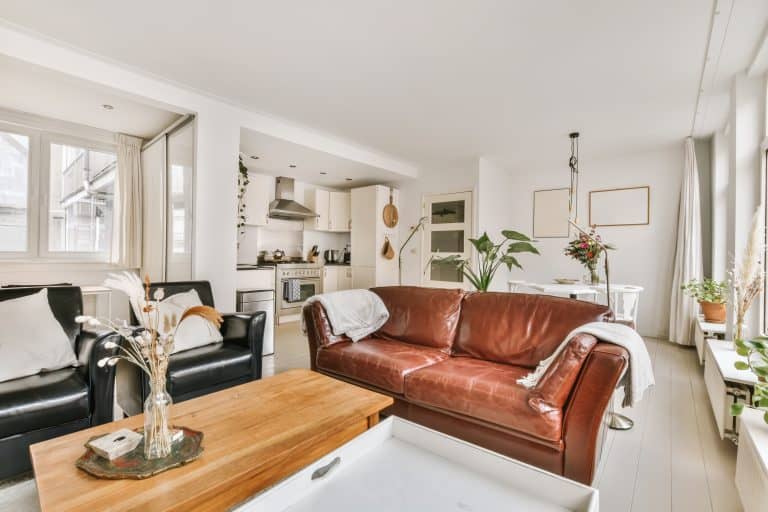
Step 3: Clean and declutter every room
Your property might feel comfortable and clean to you, but it’s likely not up to listing standards. You want to create a neutral space that buyers can envision living in. That means you’ll need to declutter, depersonalize, and deep clean your interior and outdoor spaces.
- The bathroom: Start your decluttering campaign in the bathroom. Take everything out but the essentials, do a thorough cleaning of the floors and surfaces, move your toiletries into cabinets, fold your towels, and you’re ready to move on to the next room.
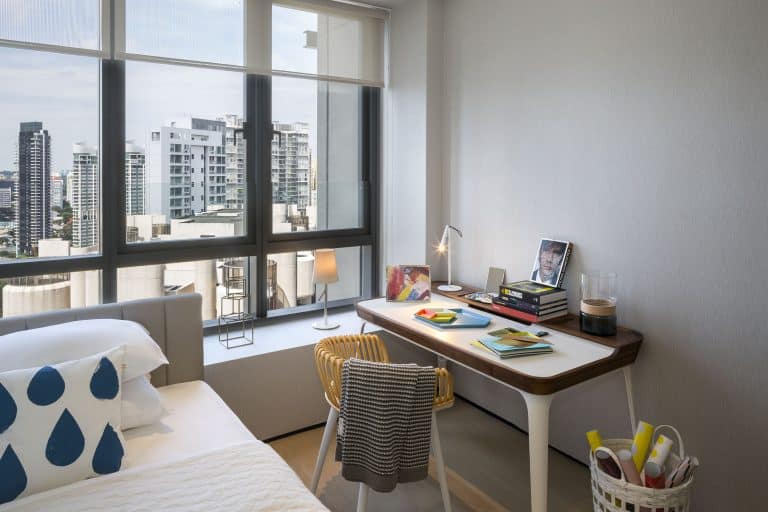
- The bedroom: The bedroom is normally populated with your clothes and other personal items only. Don’t worry about decluttering your closets just yet; just put away any loose clothing, nightstand items, and personal effects. Clean blinds, behind your headboard, and under the bed.
- Closets: Revise your closet’s content and toss things you no longer need. You should aim to declutter your closets until they’re only two-thirds full to enhance the appearance of storage space. Pack up any extra items into moving boxes and store them in a storage unit until you sell.
- The kitchen: Kitchens are areas of constant activity, and if you’ve been living in your house for some time, yours is likely jam-packed with cooking tools and knick-knacks. Be judicious about what you’re going to keep around and prepare to part with anything unessential. After you’ve cleared old food and unnecessary items out, thoroughly clean every cabinet shelf, surface, and crack in sight.
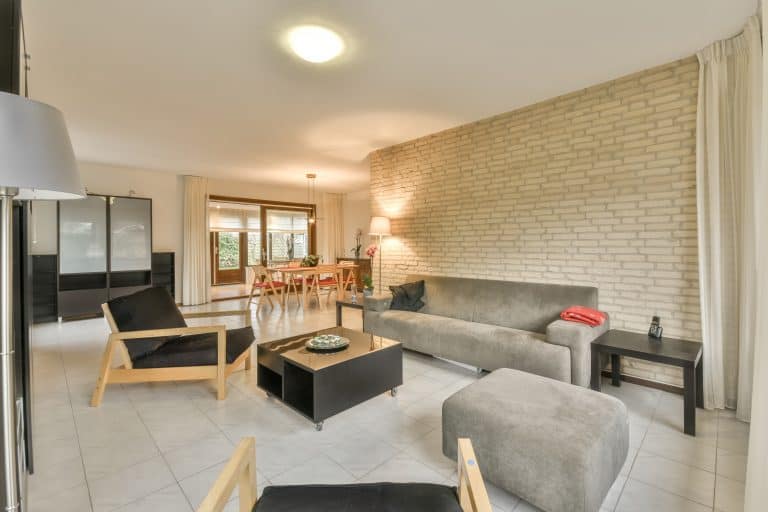
- The rest: After you’ve decluttered the primary spaces mentioned above, tackle the rest of the house, including office spaces, living rooms, hallways, entryways, and more.
Step 4: Complete necessary repairs
During this inspection, a licensed professional examines your property for defects like cracked foundations, faulty electrical systems, moldy walls and more. Your agent can refer you to a quality home inspector in your area.
After you’ve received a report from your inspector, you can determine which repairs to complete and which to leave for future buyers. You’ll need to disclose these known issues and should consider adjusting the listing price to reflect the cost of any significant repairs needed.
Step 5: Enhance your property with upgrades
After you clean and repair your property, it’s time to start sprucing it up to make it as attractive as possible. However, there’s only so much you can do on a timeline, and not every project is going to have a worthwhile return on investment. Your agent can advise what renovations are most effective in your local market, but here are some suggestions that exhibit a high ROI:
- Landscaping
- Front door replacement
- New house numbers
- Neutral paint
Week 6: Stage your property and hire a professional photographer
At this point, you’ve done all of the major work to get your property ready to sell. Your final task is to get your property ready for listing photos, open houses, and showings.
Once your property is looking fine, it’s time to show it off. Most homebuyers find properties online, so you’ll need professional listing photos to grab their attention. Now you can relax and let your agent do the heavy lifting.
Pat yourself on the back — you’ve just done all the steps to getting your property ready to sell. From this point forward, your agent will take the reins on your property sale. They’ll craft a compelling listing, market your property to buyers, and arrange showings. All you need to do is maintain a clean house and watch the offers roll in.
Blogs
We think that these articles might be of interest to you.

Affordable Freehold Properties – and Where Are These Hidden Gems?

After Sales Service


Tips for Decorating Your Singapore Condo for Christmas